


9cb7.jpeg?format=pjpg&auto=webp)

Bootstrap Starter Apps
The “Bootstrap” plugin in Contentstack CLI allows users to automate the process of project setup for starter apps.
Using the CLI “Bootstrap” plugin developers can set up projects quickly and effectively. The plugin automates the whole procedure of stack creation and setting up the project.
Using this plugin, the content types, environments, entries, and assets required to run the starter apps get created in the stack you select or create.
In this guide, we will discuss how to use this plugin and automate the process.
Prerequisites
- Contentstack account
- Node.js version 16 or above
- CLI installed on your machine: npm install -g @contentstack/cli
Steps for Execution
-
Log in to Contentstack CLI session or use the Management Token
If you haven't installed the Contentstack CLI yet, follow the steps mentioned in the CLI installation guide and get it installed.
After you have successfully installed the CLI on your machine, you can either log in to the CLI session or use the management token alias to run the bootstrap command.
Note: By default, this CLI session will work for the app hosted in the North America region. If you want to switch to Europe, Azure North America, or Azure Europe region, follow the steps mentioned in the Set Region command section.
Run the Bootstrap command by logging in to the CLI
If you choose to log in to the CLI session, open your terminal (command prompt) and run the following command to log in to your Contentstack account:
csdx auth:loginProvide your Contentstack account’s email and password to successfully login to the CLI session.
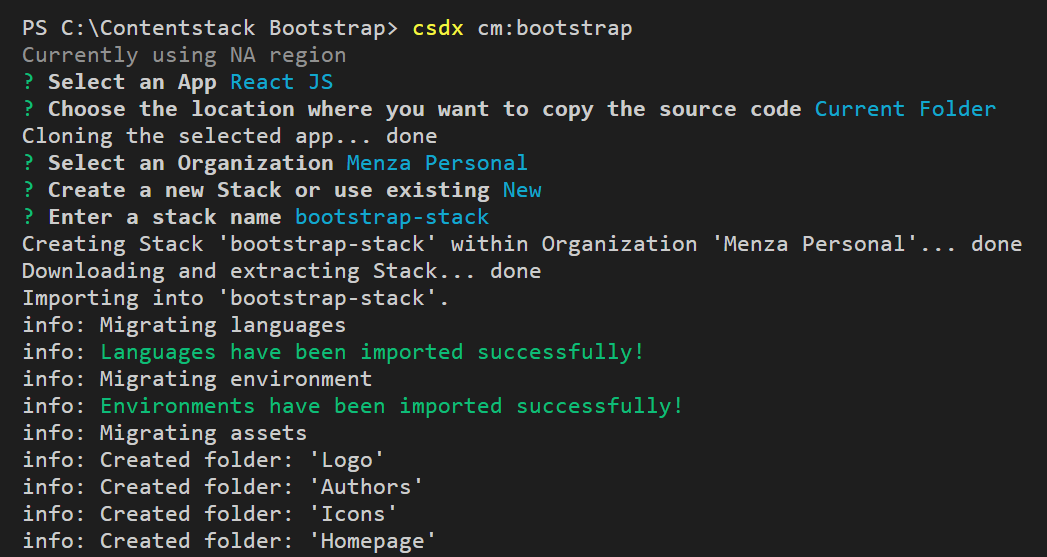
After successfully logging in to the Contentstack CLI, run the following command to initiate the procedure:
csdx cm:bootstrapRun the Bootstrap command using the Management Token
If you choose to use the management token alias to run the bootstrap command, open your terminal (command prompt) and run the following command:
csdx cm:bootstrap --alias <management_token_alias>Additional Resources: To learn more about the CLI login command, refer to the Login command section.
-
Use the Bootstrap command
The bootstrap command prompts you to enter the following details:
- Technology
- Path
- Organization name
- Stack preference
Let's discuss these options in detail.
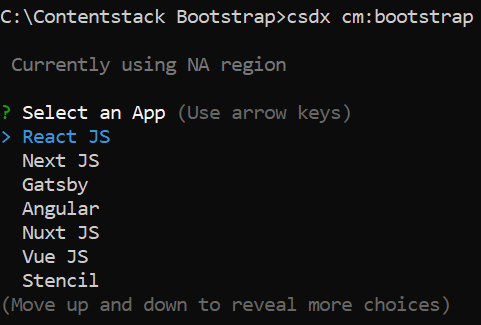
- Technology: Select the starter app (the technology type, such as React, Next, and so on) that you want to clone from the GitHub repository, from the available options.
For our example let's select React JS app. - Path: Once you have selected the app, provide the folder path to copy the app's source code.
According to your preference, provide the folder path by selecting the Other option or you can use the Current directory as a default option.
This will start cloning the selected app to the folder you provide.
- Organization name: Now, Select an Organization from the list of your organizations.
The cloned app content will be added to a stack in the organization you select.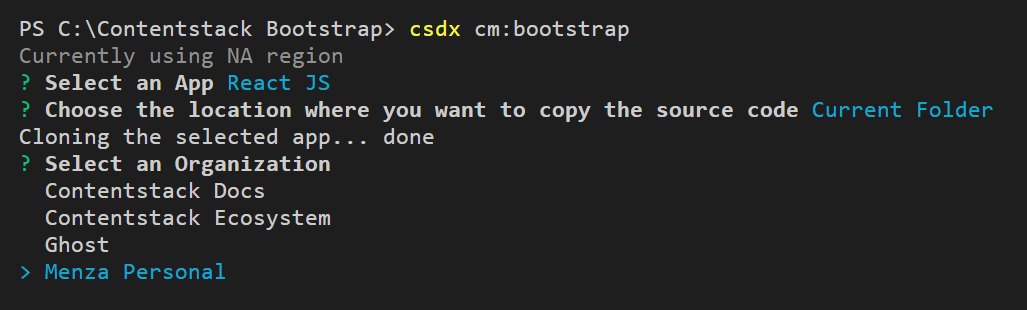
- Stack preference: In the organization you picked above, select if you want to create a new stack or use an existing stack to import the content of the app.
For this example let's create a new stack in the organization we selected.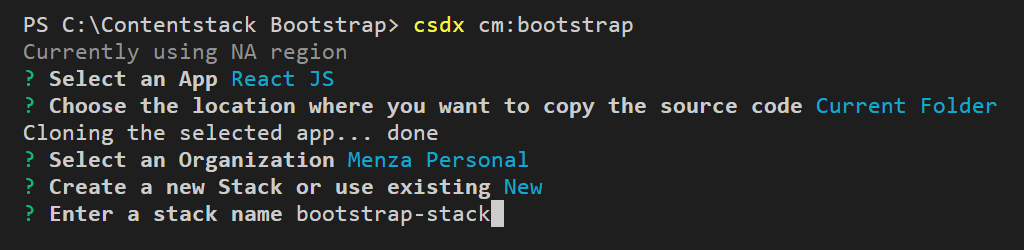
- Accordingly, add the Name of the Stack where you want to import the project content and click the Enter button to start importing the project to the stack.
- On providing the above details, the plugin will add the project content including fields, and assets. It will also set up the environments, languages, and other settings for the selected app.
Note: Imported content will be automatically published in the target stack.
This is how you can automate the process of project creation in Contentstack by using the Bootstrap command.
The alternate way of using the command is by providing the required parameters after the command in a single line as shown below:
csdx cm:bootstrap --app-name "<starter_app_name>" --project-dir "<path_or_the_location_of_the_folder_to_clone_the_app>" -k "<stack_api_key>" --org "<organization_uid>" -n "<stack_name>"Options:
- --app-name=app-name: The name of the starter app you want to use. Example: reactjs-starter, nextjs-starter, gatsby-starter, angular-starter, nuxt-starter.
- --project-dir=project-dir:
Directory/path to setup the project. If directory name has a space then provide the path as a string or escape the space using backslash as shown in the below example. - --app-type=app-type: Sample or Starter app.
- -k,--stack-api-key=stack-api-key:
Provide stack API key to seed content. - --org=org: Provide organization UID to create a new stack.
- -n,--stack-name=stack-name: Name of the new stack that will be created.
Examples:
- To select the app you want to clone, use this command:
For Eg. To clone content of a React JS app:
csdx cm:bootstrap --app-name "<app name>"csdx cm:bootstrap --app-name reactjs-starter - Use this command to provide the path to the location of the folder to clone the app:
For Eg.:csdx cm:bootstrap --project-dir "<The path or the location to clone the app>"csdx cm:bootstrap --project-dir "C:\Users\Name\Desktop\cli\content" -
Use this command to add all the flags in a single command:
For Eg.:csdx cm:bootstrap --app-name "<app-name>" --project-dir "<The path or the location to clone the app>" --org "your-org-uid" --stack-name "stack-name"csdx cm:bootstrap --app-name reactjs-starter --project-dir "C:\Users\Name\Desktop\cli\content" --org "your-org-uid" --stack-name "sample-stack"
The above command will add the starter app’s (React JS) content to your stack as shown below:

Run the Starter App
You can easily run this starter app on your local machine by following the steps below:
-
Build, Configure and Run the Website (Manual process)
Download the website code from our GitHub repository.
After downloading the website code, navigate to the root folder and create a configuration file named .env.development.,
Provide your stack credentials like API key, Delivery token, and environment:
REACT_APP_CONTENTSTACK_API_KEY = <api_key_of_your_stack>
REACT_APP_CONTENTSTACK_DELIVERY_TOKEN = <delivery_token_of_the_environment>
REACT_APP_CONTENTSTACK_ENVIRONMENT = <environment_name>
REACT_APP_CONTENTSTACK_LIVE_PREVIEW= true

# API Host and Region Environment Variables for North America region users
# REACT_APP_CONTENTSTACK_API_HOST=api.contentstack.io
# REACT_APP_CONTENTSTACK_REGION=NA

# API Host and Region Environment Variables for Europe region users
# REACT_APP_CONTENTSTACK_API_HOST=eu-api.contentstack.com
# REACT_APP_CONTENTSTACK_REGION=EU

# API Host and Region Environment Variables for Azure North America region users
# REACT_APP_CONTENTSTACK_API_HOST=azure-na-api.contentstack.com
# REACT_APP_CONTENTSTACK_REGION=AZURE-NA

# API Host and Region Environment Variables for Azure Europe region users
# REACT_APP_CONTENTSTACK_API_HOST=azure-eu-api.contentstack.com
# REACT_APP_CONTENTSTACK_REGION=AZURE-EU
Note: By default, the Live Preview feature is disabled for this project. To enable it, set REACT_APP_CONTENTSTACK_LIVE_PREVIEW= true.
Now, fire up your terminal, point it to your project location, and run the following commands:
That’s it!npm install npm start
You can now view the website at http://localhost:3000.
Here's how your website's Home page will look after running on your localhost.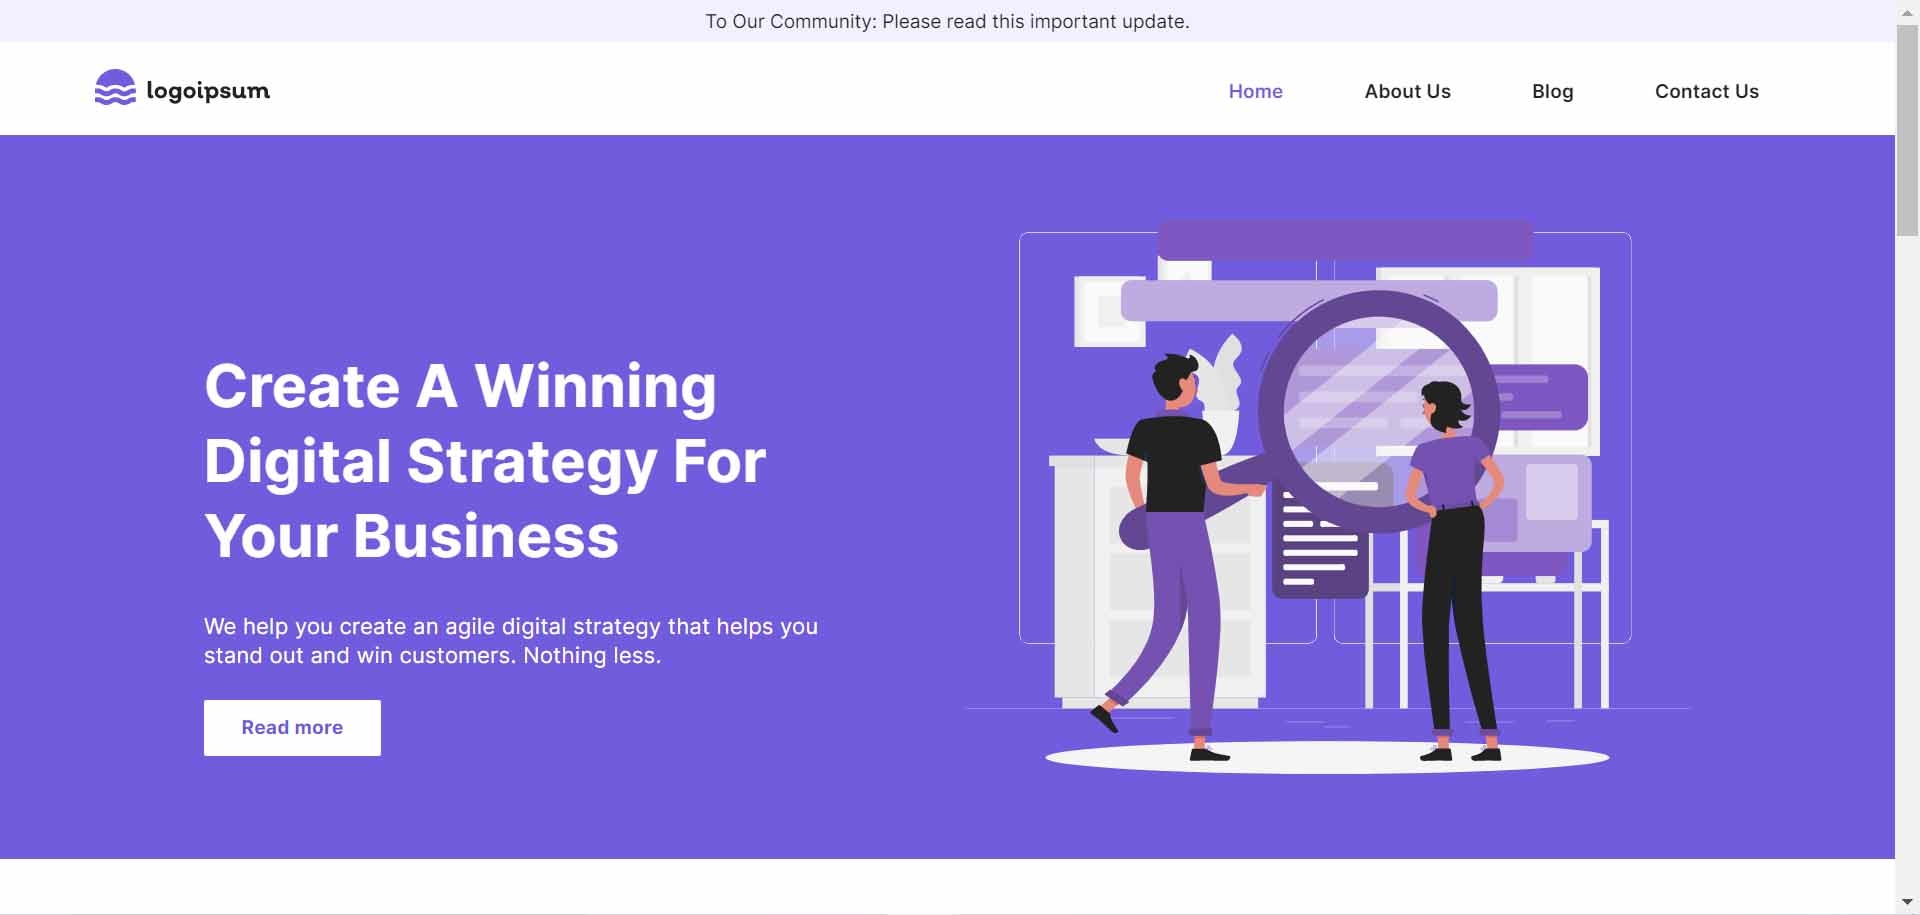
-
Deploy the Website
The easiest and the quickest way to deploy the React JS starter website on production is to use Vercel.
You need a Vercel account before you start deploying.
Note: During deployment, to use the European, Azure North American, or Azure European region, add an environment variable REACT_APP_CONTENTSTACK_REGION and set its value to eu, azure-na, or azure-eu respectively.
The Bootstrap plugin supports the following starter apps.
Starter Apps
Additional Resource: To create and run a demo website, use the sample code and guide provided in the Contentstack starter apps documentation.
Limitations:
More articles
